Music Controller

IMG 7267 from Lindsey Frances on Vimeo.

This music controller has six buttons that control music: shuffle, back, stop/play, pause/play, forward, and fast forward.  As an added feature, a toggle switch is located in the front that allows the user to switch between controlling a Javascript sketch and Spotify.

Key Commands for Spotify

For feedback, this plays a sound before the button press on the Javascript side. This originally had notes playing with sound in the Arduino code along with a speaker. It was taken out as a design choice so that the sound doesn’t interfere with the Spotify side.

Schematic

Circuit Diagram

Laser cut file

Source code

Arduino:

Javascript:

Citation

For Toggle Switch –  http://www.connectedly.com/using-buttons-and-switches-arduino

Box Making – http://www.makercase.com/

Light Controller

During class, it was mentioned to explore different ways of turning on a light. I instantly thought of using stretch sensors to do this. Since I was going to be out of town for most of the week and unable to access components, I grabbed three from the ER. I was able to set up a a circuit that had a stretch sensor attached for each color value. However, when I went to stretch the red value cord, the cord broke. I still was able to use it although, it wasn’t as long. However, as I was readjusting things, I realized that the stretch sensors would not work in the same way as a potentiometer. I am sure there is way to create such a controller, but I couldn’t figure out how I would be able to bring the value back down to zero after stretching it. I thought of a possible reset button but that still didn’t seem like it was work. At this point, I realized it was probably better to start simpler and keep adding. So for this project I just used simple potentiometers from the shop.

Photo


Circuit

Schematic

Code


Reference

http://workshopweekend.net/arduino/labs/exploring-color

Tangible Interaction: Game Controller


This game controller wraps around a computer so the user can have a close eye to what they are pressing and feel like they are almost using a tablet. On the right side are the basic, commonly used directional buttons (up, down, right, and left) and the left side has the less commonly used, power booster. The container also has a stand on the back for extra support.  The controller uses five standard push buttons and an Arduino Micro.

Video:

Tangible Interaction: Game Controller from Lindsey Frances on Vimeo.

Original Circuit Test:


Arduino Code:


Schematic:


Laser Cutting File:

Note: MakerCase was used for basic file designs.


References Used:

http://www.varesano.net/blog/fabio/serial-communication-arduino-and-processing-simple-examples-and-arduino-based-gamepad-int

Urban Imagination

Screaming Canyon

Last week was not the best week for me and I just wanted to scream to get some stress relief.  This feeling inspired me for this project.  Enter the Screaming Canyon.

img_4696

Being able to yell as loud as you want and not think someone is killing you or that you are crazy is a luxury in a city so large.  The Screaming Canyon would be small rooms placed on the street to allow people to scream out their frustrations in a peaceful manner.

On the outside the the room would look like a large stone or rock with door.  When you walk in you are transported into a open canyon.  As you yell out, the canyon echoes back just like in nature.  The canyon is completely private and soundproof so anything can be said.  Not only can shouting or crying your frustrations out encourage peace in your life but also being surrounded by nature can help.  Image result for grand canyon cliff

NOC: Final Proposal

Title: TBA

Short description:  This is a collaborative project that will be a visual projection mapping for a work space opening called Coworkrs.  It will be for a launch party on April 20th.  There would be more than one visual so that it is constantly changing.

Technical stuff: It will use projection mapping to create visuals bound by the different wall shapes.  From class, it will primarily use particle systems as well as boundaries.  It will also use box2d.

Demo:

Projection Video from Lindsey Frances on Vimeo.

Future directions:  Since it is in collaboration, the goal is to make the visuals unique but also have similar properties.  This will change after meeting with the group.

Wearables: Spring Break Thoughts

This past week was Spring Break and since I had already had a trip planned, I wasn’t able to as much fabrication as I would have liked and the little that I did do broke. However, this turned out to be a blessing.

I started working on the idea of mirroring gloves.  They were supposed to capture hand gestures. Then based on those movements, it would either encourage another user to match those or rate how the other user matches. However, during testing of the flex sensors in a glove, one of them broke.  In the frustration, I started to think more about what I really wanted to get out of this class. Not only do I want to learn about wearables and what is their purpose, I also want a refresher on sewing and making soft sensors. Because of this, I have decided to once again alter my idea a bit once again.

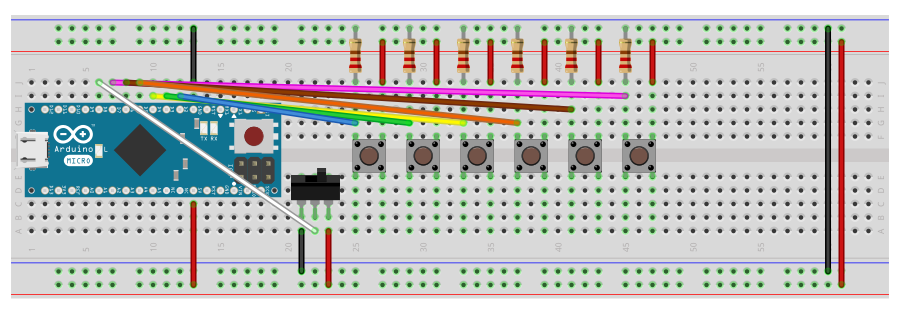
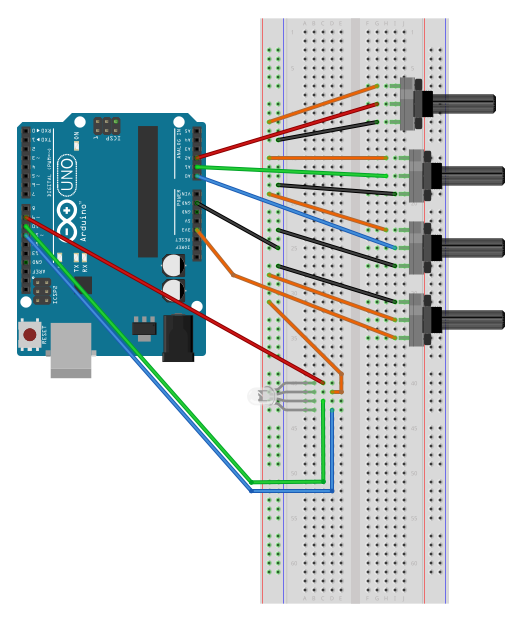
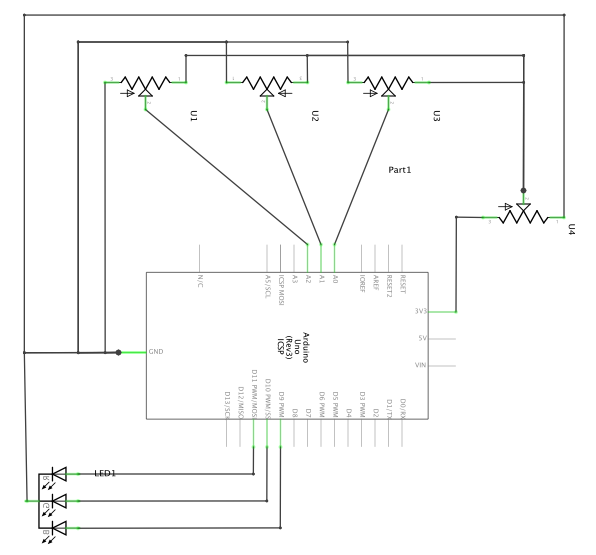
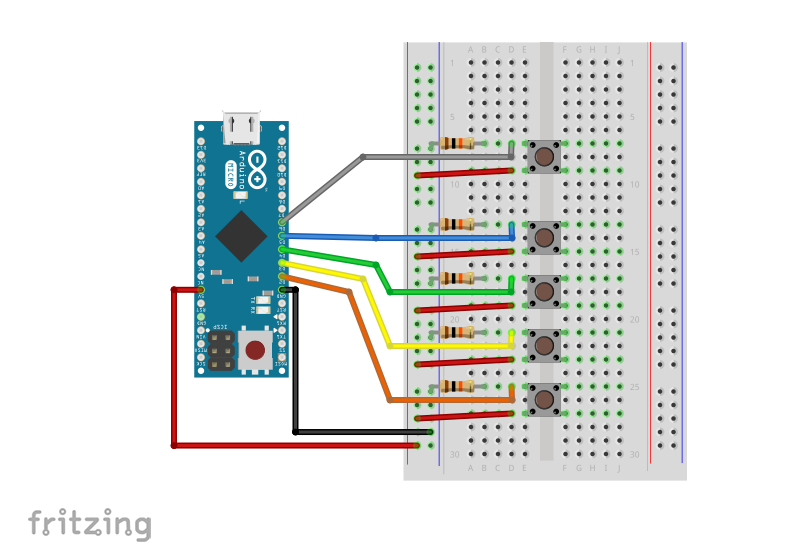
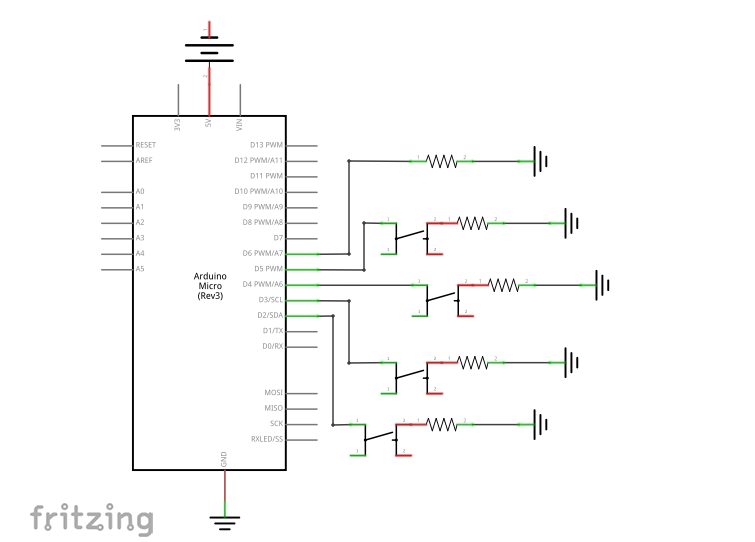
I still want to explore body language but I am going to take a broader approach and not stick with just mirroring hand gestures. In class, someone suggested making something that would show different types of body language and this is where I plan to go.  My idea is to make a shirt (although, I would like to make a dress) that based on where you place your arms, it will show a different output.  I will use a mixture of contact buttons,  flex sensors, and possibly accelerometers to monitor these movements.  I think as of right now, it will be a visual output with multiple leds in a pattern for each movement but I also think there is something useful in sound.

I am much more excited about this and now have a plan for my outcome and even my documentation.  Since I decided on this idea this afternoon, I don’t have much to show.  I plan to make a fabric button tomorrow and I am currently looking at patterns for how to make the shirt.  I am currently working on sketches for what it will be and filling out the past survey on what this will be about.  I will add all of these later.

After all of the emotion and thought, I feel complete relief to finally see what I will be doing.  I’m still nervous on how behind I am but I think being out of the web of uncertainty is helping to encourage my motivation to start.


Note: Also, I am very appreciative of everything that happened in class. Although, it was completely terrifying and I felt emotionally naked, I am glad to have had that experience.  It was not only eye opening on how I need to get better at sharing my thoughts but also in how supportive people can be.

Nature of Code: Week 3 – Oscillation

This week I wanted to experiment with Sin and Cos to understand what happens when I change different parts of the formula.

The first one is a change in the angular motion example.  I added a “reset” for when the circles reach the width, they begin to reverse. I think it is a nice visualization of angular motion.

waves1 from Lindsey Frances on Vimeo.

The second is creating the polar roses.  I also made the radius multiplied by .05 to create a changing diameter.

I then began to experiment with the wave equation. For my first wave, I created this. I switched the x and the y around in the lines to create a vertical wave. From there, I began to add changes such as making the increments smaller in the for loop (example) and changing cos to sin in the mapping as well as the parameters (example.)  By doing these, it helped me to better visualize what I can do in my code with sin and cos.

waves3 from Lindsey Frances on Vimeo.

waves4 from Lindsey Frances on Vimeo.

From here, I began to create moving petal-like objects.  I  did this by again creating small increments in the for loop ( which causes a more solid like look) and made the startAngle smaller.  I also added a change in the color based on the angle change (example). I then experimented with subtracting a variable within the line equations (example).

waves7 from Lindsey Frances on Vimeo.

waves11 from Lindsey Frances on Vimeo.

I also wanted to see what would happen if I squared the angle within the mapping(example) and put it to the power of the fourth(example).  It was interesting because it created this triangular patterns.

waves8 from Lindsey Frances on Vimeo.

waves9 from Lindsey Frances on Vimeo.

PComp: Week 6 – Serial and P5

This week we combined our Arduino and P5.  The labs gave me a lot of difficulty at first.  I had multiple issues from P5 freezing or quitting unexpectingly to the graphing lab not working because I didn’t plug in the wires but the most frustrating thing about this lab is that it will work and then suddenly not work.  By that, I mean that I was able to get the graphing lab to work (see video below) then I would simply close the window to rerun the program and it would not work.  Is this due to the delay in the arduino? Does it need to be longer?

Graphing with P5 and Arduino from Lindsey Frances on Vimeo.


I tried to be a little more ambitious and connect my ICM assignment this week with this assignment.  The original P5 looks like the below video.  I tried to change the first slider which changes the x value of the bezier and creates a different type of “wing.”

Butterflies from Lindsey Frances on Vimeo.

Here is my code and my video of the application in use is:

Butterflies with Potentiometer from Lindsey Frances on Vimeo.

I ran out of time to do this but I wanted to add a second potentiometer to control the y-values.  Would I be able to do this by using the same Arduino code and just adding a second variable or would I have to do something in addition?

ICM: Week 7 – DOM

This week we learned about DOM elements.  For inspiration I used Moon’s workshop example.

Moving Triangle from Lindsey Frances on Vimeo.

After manipulating it a little, I created what looks like abstract butterflies.  Then I added some sliders and buttons to change the colors.  I tried to create a slider to change the amount of “butterflies” but found that since that for loop was in the setup, I couldn’t get it to work.  Would I have to make another function in order to do this?

Butterflies from Lindsey Frances on Vimeo.

Questions:

  • Is there a reason it is more useful to put HTML and CSS elements in the Javascript file than having them in their own individual files?
  • Is there a way to have font from an HTML element put behind an JS element?
  • Can the font style be put together in one style function rather than multiple lines?