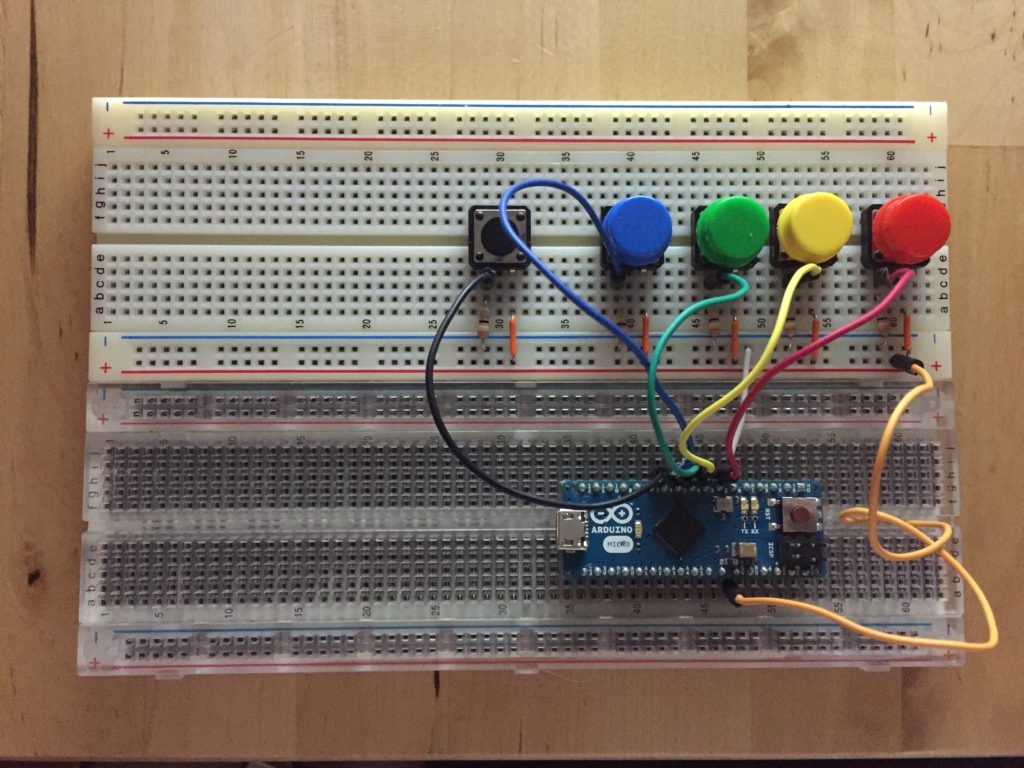
During class, it was mentioned to explore different ways of turning on a light. I instantly thought of using stretch sensors to do this. Since I was going to be out of town for most of the week and unable to access components, I grabbed three from the ER. I was able to set up a a circuit that had a stretch sensor attached for each color value. However, when I went to stretch the red value cord, the cord broke. I still was able to use it although, it wasn’t as long. However, as I was readjusting things, I realized that the stretch sensors would not work in the same way as a potentiometer. I am sure there is way to create such a controller, but I couldn’t figure out how I would be able to bring the value back down to zero after stretching it. I thought of a possible reset button but that still didn’t seem like it was work. At this point, I realized it was probably better to start simpler and keep adding. So for this project I just used simple potentiometers from the shop.
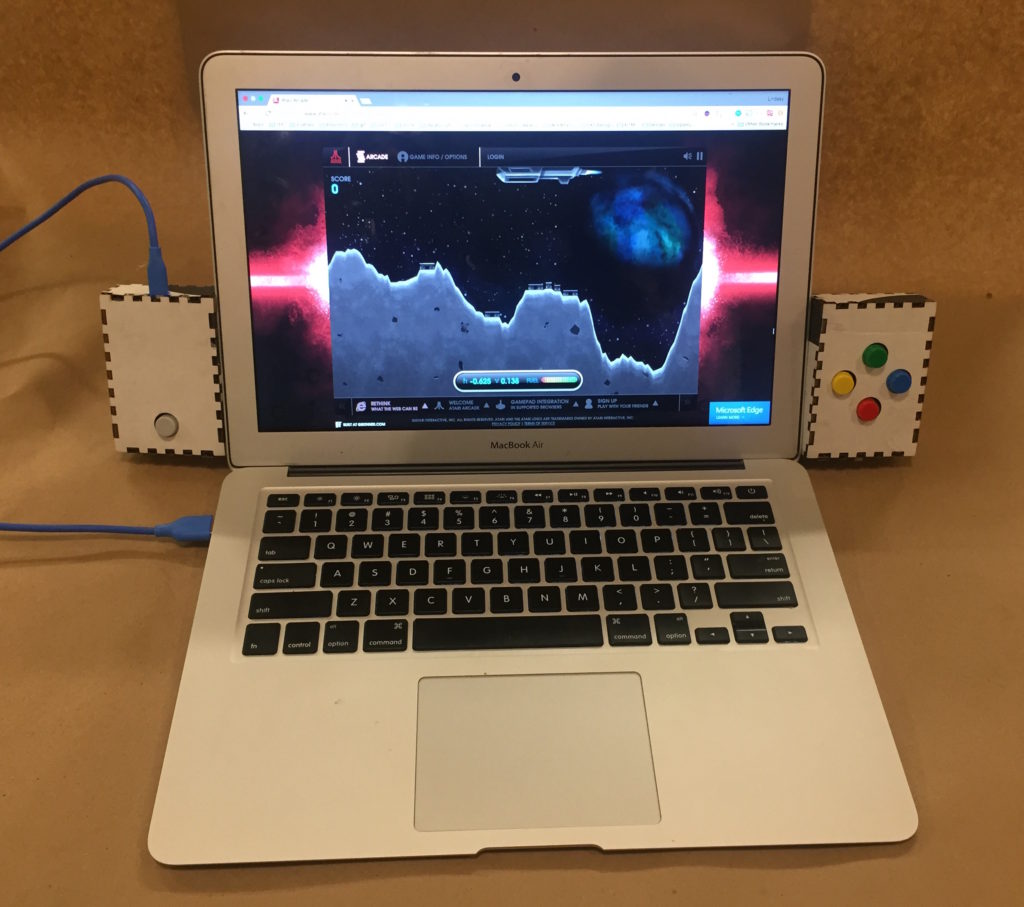
Photo
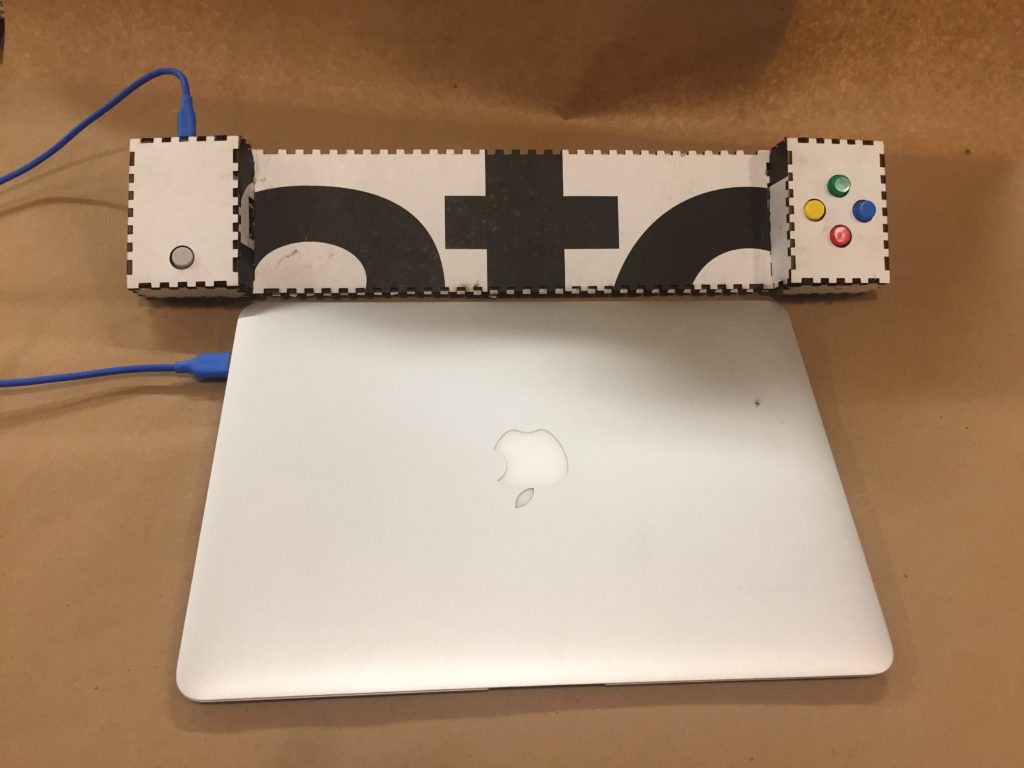
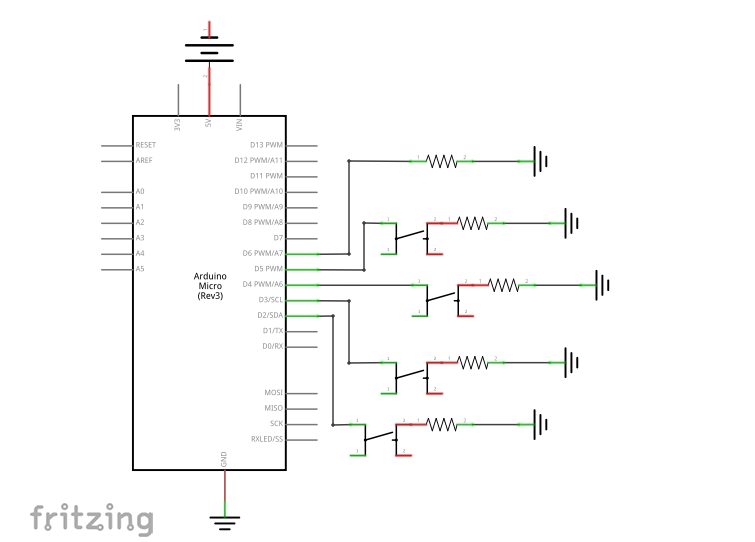
Circuit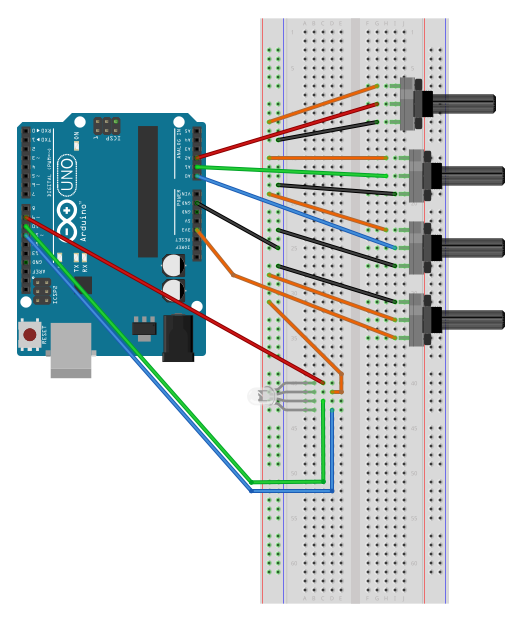
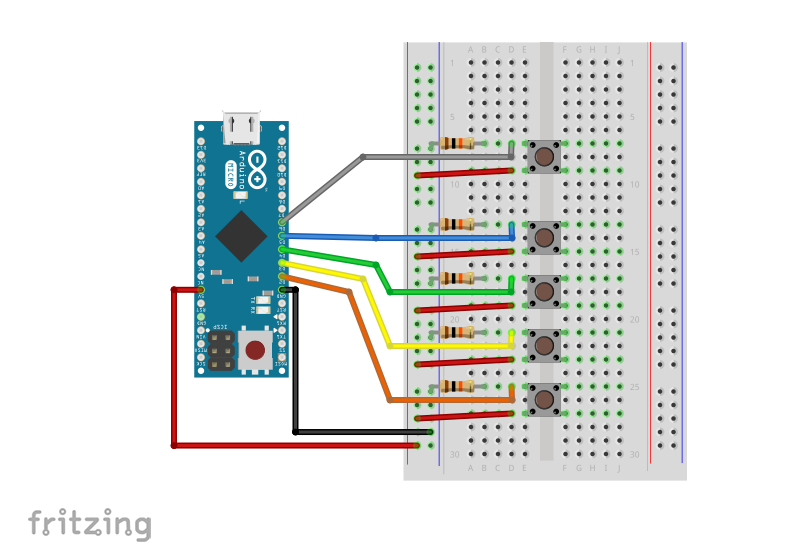
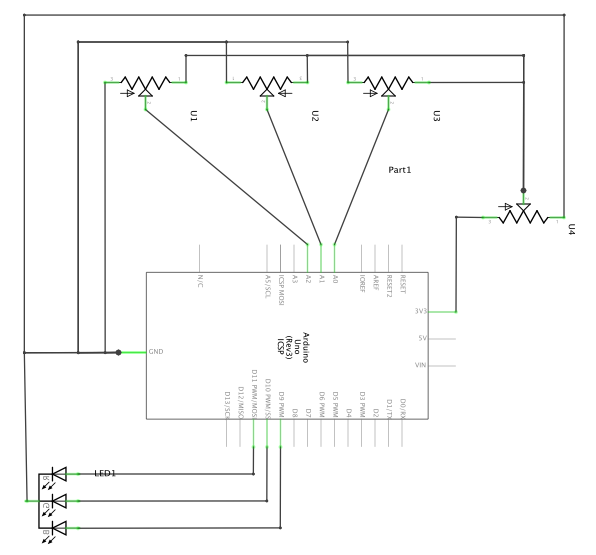
Schematic
Code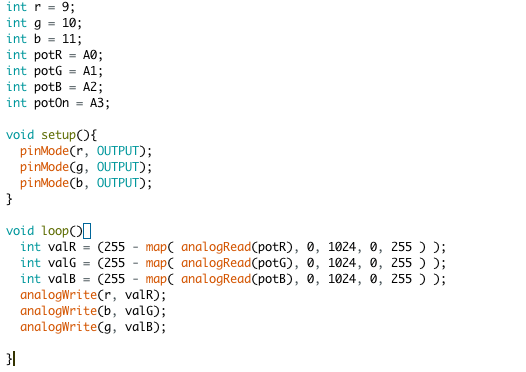
Reference